Installing a window grille is a simple process that can be completed in just a few minutes. Follow this guide to ensure a smooth installation and enjoy the flexibility of easily removing the grille for window maintenance.
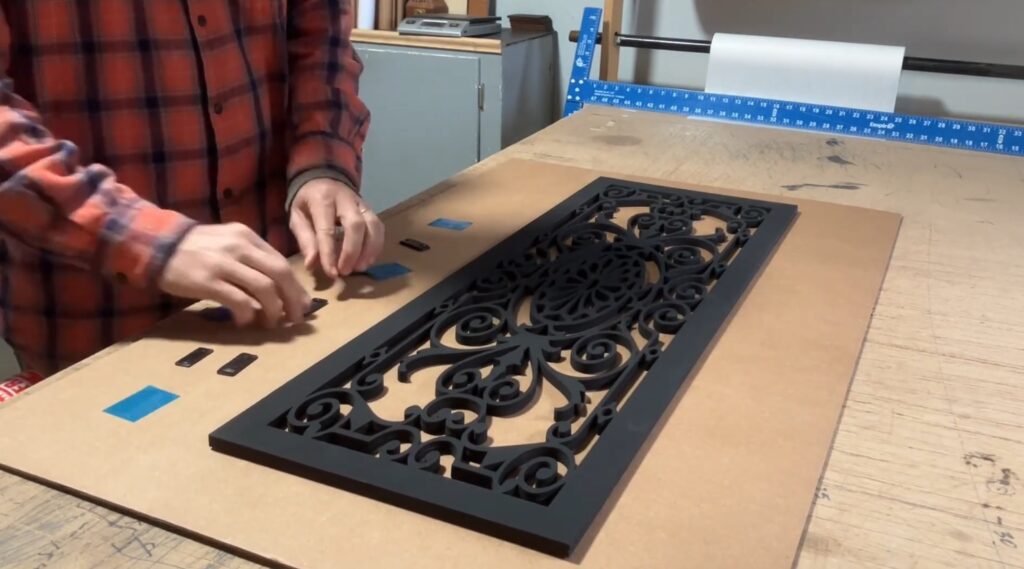
Start by locating the strike plate and the magnet on your grille. You’ll notice a red adhesive backing on the magnet. This red sticker is there to protect the adhesive. When you’re ready to install, simply peel off the red sticker to expose the adhesive.
Our magnets are precision-cut using a laser cutter, ensuring a perfect fit. The adhesive backing allows the grille to be easily removed, making it convenient for any future window maintenance.
If you have short fingernails, like I do, peeling off the adhesive backing might be a bit tricky. This is the perfect time to call your wife (if she has longer nails) to assist. Alternatively, you can use a guitar pick to slide underneath the red backing and lift it off easily. I might even include a guitar pick in the box when you order a grille to make this step easier.
Once the adhesive is exposed, it’s crucial to center the magnet over the strike plate. This ensures that the grille will align properly on the glass.
In my experience, a grille installation takes about 10 minutes, and that includes a coffee break! The actual process of sticking the grill to the window takes only seconds, so most of your time will be spent setting up and preparing.
When you’re ready to place the grille on the window, remember that you only get one shot at this. Once the adhesive touches the glass, it’s going to stay put. So, take your time to center the magnets on the strike plates. Once aligned, press the grill firmly into place.
If you’re installing the grille on a higher window, make sure you’re comfortable on a ladder and get the placement right the first time.
After the installation, leave it in place for 24 hours to allow the adhesive to cure. This curing time ensures a strong bond between the magnet and the glass. Once cured, you can easily remove the grille in seconds whenever you need to wash the window.
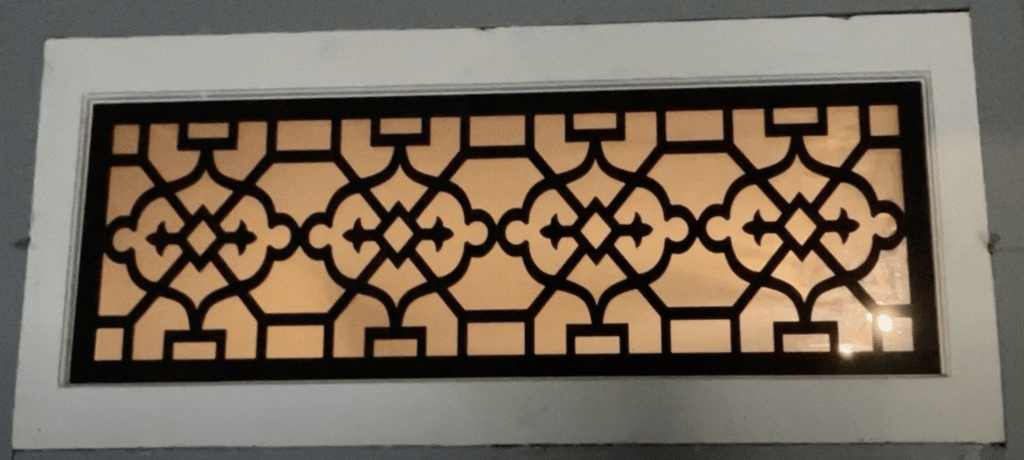
Having the option to remove the grille for window washing is a fantastic feature, even if washing windows isn’t your favorite chore. This installation was done on a transom window in our house, which was built around 1860. The Alnwick window grille adds a beautiful touch to our mud room.
If you run into any issues while installing your grill, don’t hesitate to reach out. The installation is straightforward, but if you hit a snag, I’m here to help. You can contact us at Forgotten Mountain for assistance. Happy installing!
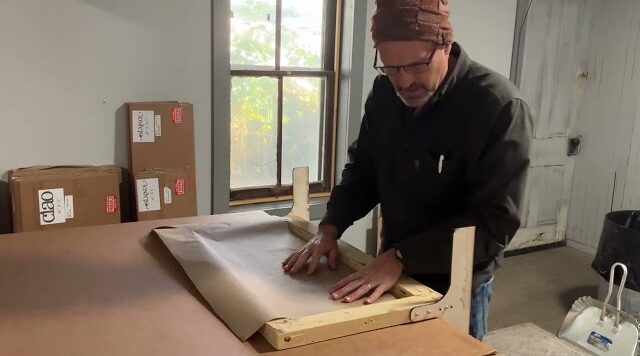
Hi, Dwight Kopp here with Forgotten Mountain. Make a Paper Template I want to show you how to create a

Hey, Dwight Kopp here with Forgotten Mountain. So if you’re looking at getting window grilles in your windows, there are

Hey, Dwight Kopp here with Forgotten Mountain. Fixing Light Leaks Around Window Treatments So if you’re working with blackout shades,
Hey, good morning. Dwight Kopp here with Forgotten Mountain. I’ve had several customers reach out to me lately about adding
Hey, Dwight Kopp here with Forgotten Mountain. Window Square Inserts If you find yourself searching for a window square inserts,